Replace:
Environment.getExternalStoragePublicDirectory(
                Environment.DIRECTORY_PICTURES)
With:
private File createImageFile() throws IOException {
        // Create an image file name
make sure you call:
mkdirs() // and not mkdir()
Here’s the code that should work for you:
        String timeStamp = new SimpleDateFormat("yyyyMMdd_HHmmss").format(new Date());
        String imageFileName = "JPEG_" + timeStamp + "_";
        File storageDir = new File(Environment.getExternalStorageDirectory().toString(), "whatever_directory_existing_or_not/sub_dir_if_needed/");
        storageDir.mkdirs(); // make sure you call mkdirs() and not mkdir()
        File image = File.createTempFile(
                imageFileName,  // prefix
                ".jpg",         // suffix
                storageDir      // directory
        );

        // Save a file: path for use with ACTION_VIEW intents

        mCurrentPhotoPath = "file:" + image.getAbsolutePath();
        Log.e("our file", image.toString());
        return image;
    }
I had a bad experience following the example given in Android Studio Documentation and I found out that there are many others experiencing the same about this particular topic here in stackoverflow, that is because even if we set
<uses-permission android:name="android.permission.WRITE_EXTERNAL_STORAGE"/>
the problem persists in some devices.
My experience was that the example worked when I tried it in debug mode, after that 3 more tests it so happened that my SD suddenly was corrupted, but I don’t think it has to do with their example (funny). I bought a new SD card and tried it again, only to realize that still both release and debug mode did the same error log: directory does not exist ENOENT. Finally, I had to create the directories myself whick will contain the captured pictures from my phone’s camera. And I was right, it works just perfect.
I hope this helps you and others out there searching for answers.
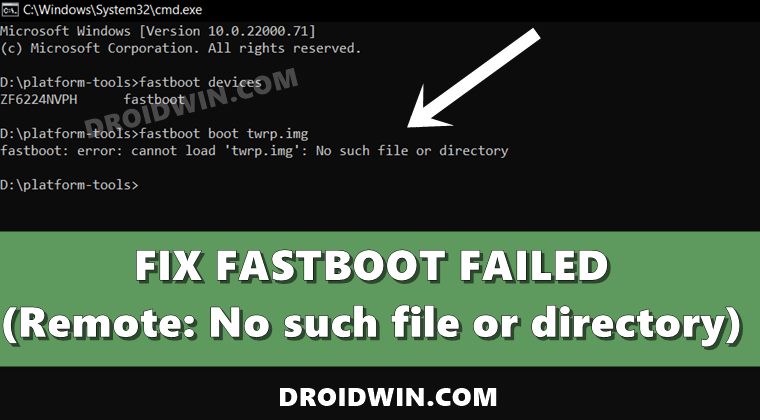
In this guide, we will show you different methods to fix the Fastboot FAILED (remote: No such file or directory) error. The ADB and Fastboot Commands are the unsung heroes of custom development. They are among the most useful as well as important tools that we could have in our arsenal.
Right from the basic tasks of booting the device to Fastboot or Recovery, to the technical ones involving the flashing of custom binaries, there’s a lot that these commands are capable of doing. However, at the same time, they aren’t free from their fair share of issues either. There are quite a few errors that bug this ecosystem from time to time. In this regard, the inability to find the required directory seems to be among the most common issues.
This happens when you execute a command in the CMD or PowerShell window but the latter isn’t able to read the file associated with that command. Now there could be quite a few reasons for the same. And this guide shall make you aware of all of them as well as their associated fixes. So without further ado, let’s check out the various methods to fix the Fastboot FAILED (remote: No such file or directory) error.
- How to Fix FAILED (remote: Command not allowed)
- How to Extract payload.bin and get stock boot image file
- Fix FAILED (remote: Partition flashing is not allowed)
There isn’t any universal fix as such. You will have to try out each of the below-mentioned methods until one of them spells out success for you.
Fix 1: Check File Name
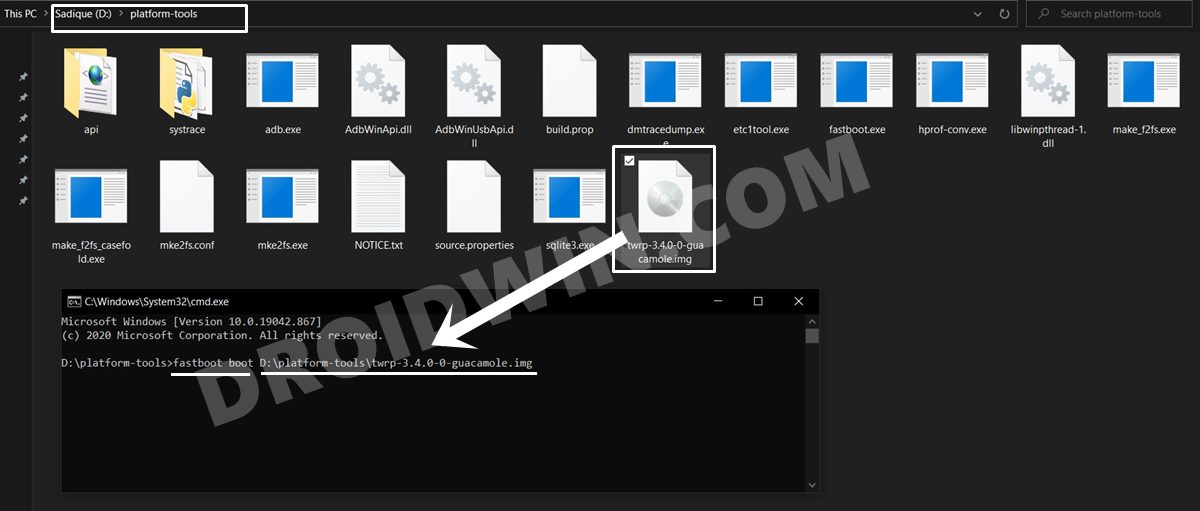
To begin with, make sure that the file name that you have entered inside the Command Prompt or PowerShell window exactly matches the name of that file. The upper and lower cases, hyphens, spaces, etc all should match.
Fix 2: Verify File Location
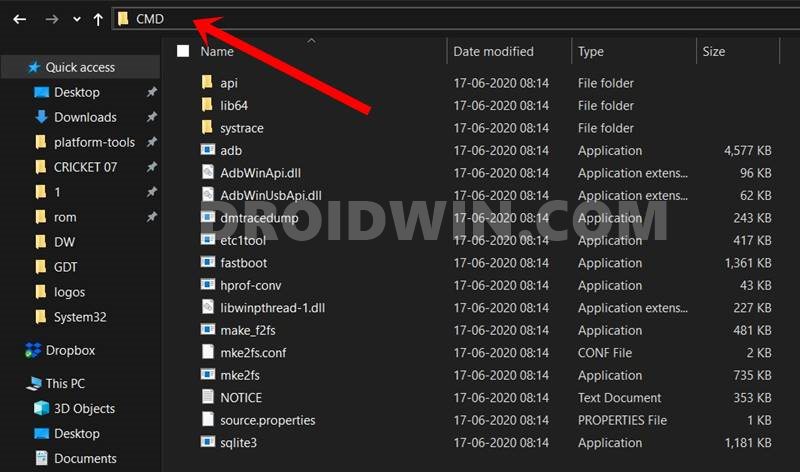 Next up, the file that you are planning to flash should be placed inside the platform-tools folder. And the CMD window should also be opened inside the same folder. To do so, head over to that platform-tools folder address bar, type in CMD and hit Enter. This shall launch the Command Prompt window with the ADB directory automatically picked up. Now try executing the desired command and see if it fixes the Fastboot FAILED (remote: No such file or directory) error.
Fix 3: Install Fastboot Drivers

In most cases, the SDK Platform Tools are more than enough for your Android device. However, sometimes you might also have to install the standalone Fastboot Drivers. To do so, grab hold of the latest Google’s Android Bootloader Interface Drivers and install it onto your PC. The installation instructions are given in that linked guide itself, do refer to it. Once installed, verify whether the Fastboot FAILED (remote: No such file or directory) error has been fixed or not.
Fix 4: Use USB 2.0 Port
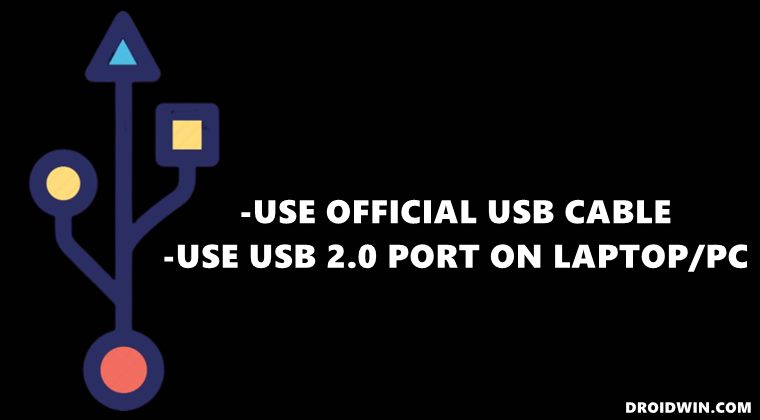
In some instances, the USB 3.0 Port might not be able to identify a device connected in Fastboot Mode. Therefore, you should connect the device in USB 2.0 Port. Along the same lines, you should only use the official USB cable that came shipped with your device. If you don’t have it, then use the official cable of any other Android device. But it should have came out of the box with a smartphone and shouldn’t be a standalone USB cable.
That’s it. These were the various methods to fix the Fastboot FAILED (remote: No such file or directory) error. We have shared four different workarounds in this regard. Do let us know in the comments section which one spelled out success for you.
About Chief Editor

Sadique Hassan
administrator
A technical geek by birth, he always has a keen interest in the Android platform right since the birth of the HTC Dream. The open-source environment always seems to intrigue him with the plethora of options available at his fingertips. “MBA by profession, blogger by choice!”